All Categories
Featured
Table of Contents
- – Water Leak Repair Miramar Ranch North, CA
- – Black Mountain Plumbing
- – Local Plumber Miramar Ranch North, CA
- – Plumber Toilet Repair Miramar Ranch North, CA
- – Best Plumbing Miramar Ranch North, CA
- – Shower Repair Near Me Miramar Ranch North, CA
- – Water Heater Installers Miramar Ranch North, CA
- – Gas Line Plumber Miramar Ranch North, CA
- – Black Mountain Plumbing
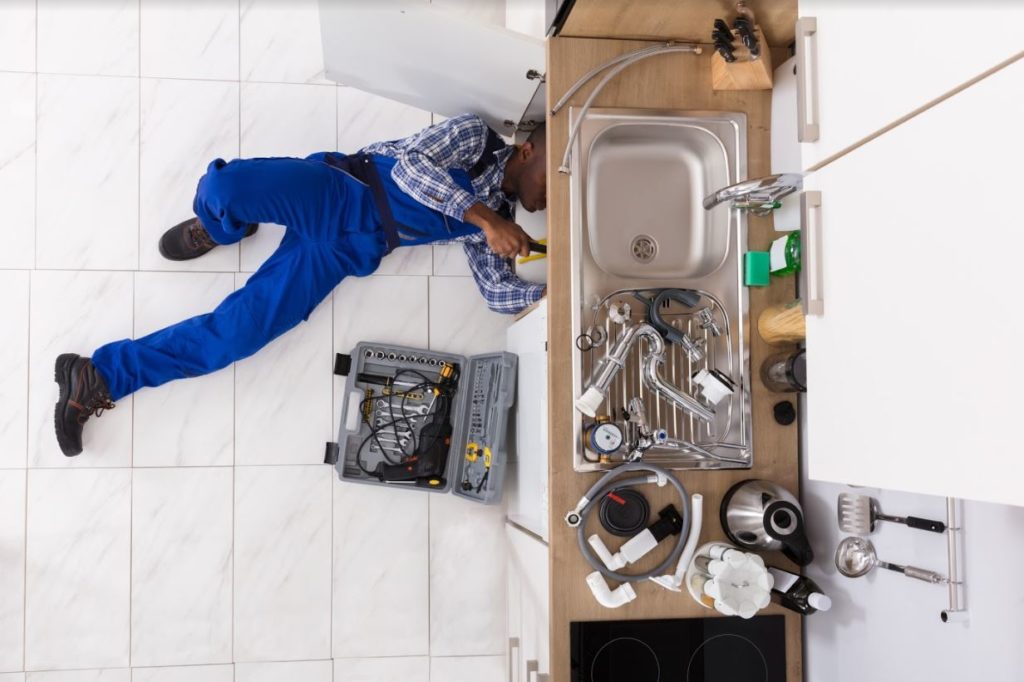
Water Leak Repair Miramar Ranch North, CA
Black Mountain Plumbing
9909 Hibert Street Suite E San Diego, CA 92131(858) 536-4161
Black Mountain Plumbing
St. Louis $125 OFF Hot Water Heater or Water Top Quality Install Discount rate not legitimate on previous service or installment. Can not be integrated with any various other offer. One price cut per house. Deal Valid till 6/30/24. Hoffmann Brothers' Plumbers are right here when you require them most. We have actually been offering family members and companies in St Louis, St Charles and City East locations for over 40 years, supplying the best St.
See more of what we can accomplish for your home or company below. Hoffmann Brothers is your service for drain cleansing in St Louis, MO. Our drain cleaners can manage any type of kind of drain or sewage system line issue, consisting of significant. Required a substitute? We do that too. To arrange any kind of solution, consisting of a drain cleaning and clearing of a sewer back up, contact our plumbings today.
Local Plumber Miramar Ranch North, CA
Thank you, thank you, thanks to all, a lot of especially Nick !! Our St Louis drain professionals are available to tackle even one of the most tough tasks, generally starting with an extensive sewage system assessment. With more than 40 years of experience, contact our qualified specialists for: Having trustworthy warm water in your house or organization is vital to comfort and health.
Your home has kitchen faucets, washroom faucets, hot and cold taps on your cleaning machine, and taps outside your home. It is essential to have a working faucet in your home.
We have experienced pipes that are dripping and trickling to full pipes substitutes in your house. There are a lot of ways that a waste disposal unit can quit working appropriately - Best Plumbing Miramar Ranch North. When the disposal obtains blocked or doesn't function anymore the plumbers at Hoffmann Brothers can obtain you up and running again quickly
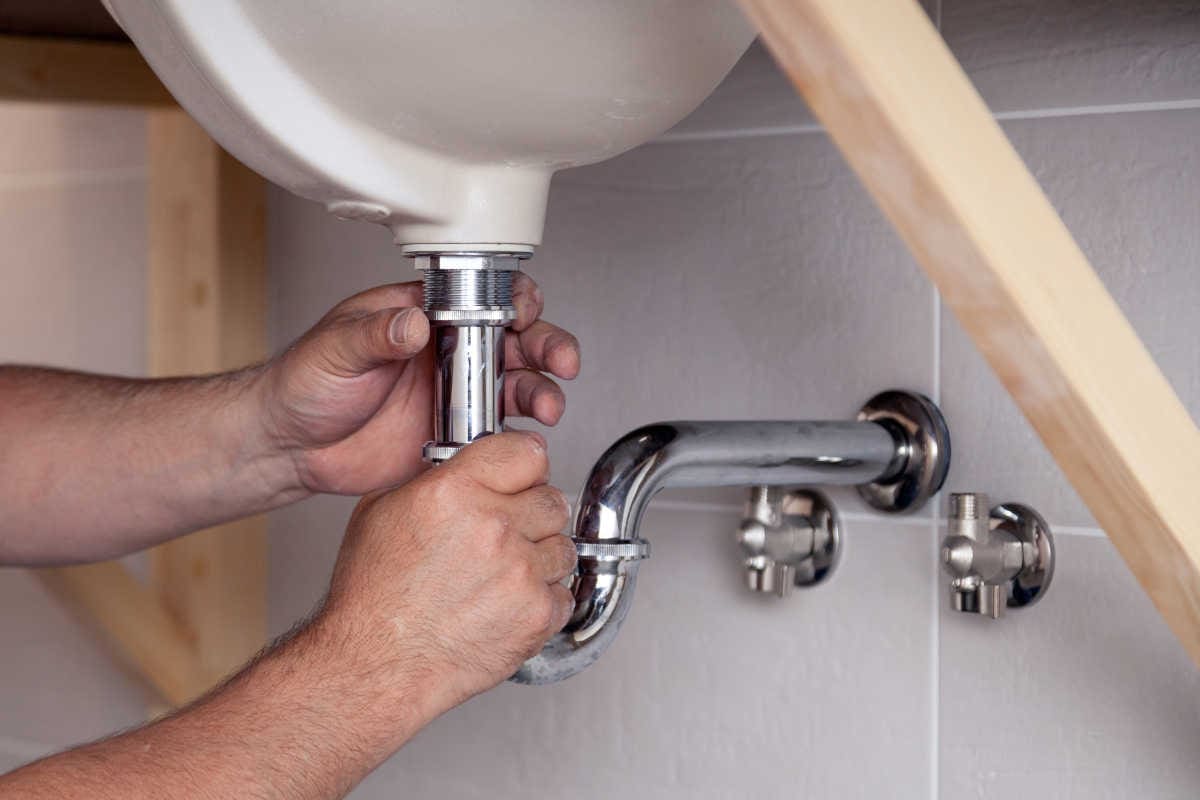
Our plumbing professionals can assist mount garbage disposals, connect water lines to refrigerators and sinks, set up dishwashers, and mounting kitchen area taps and sinks. Leaky pipes are most likely the leading plumbing solution call that Hoffmann Brothers Plumbers gets. It is very important to have operating pipes without any leakage, and if they can not be repair services, after that Hoffmann Brothers can replace the pipes in your house.
Plumber Toilet Repair Miramar Ranch North, CA
Sump Pumps assist maintain water out of your home, and when they fail, it could trigger major damage particularly in the cellar. It is vital to see to it that your sump pump is working properly particularly before a damp St Louis springtime. Water Therapy is important especially in St Charles County, Jefferson Area and Franklin region where the water is much more challenging than regular.
Leaks and poor pipeline connections can result from pipeline corrosion otherwise resolved. Eco-friendly spots around on shutoff valves and copper and brass fittings are an indicator of rust. Examination water pressure. Water pressure determines the pressure of water as it flows from sinks, taps and showerheads. Low water pressure can suggest a problem with the water line or of debris develop in the tap or showerhead.
Best Plumbing Miramar Ranch North, CA
Hoffmann Brothers has actually been servicing St Louis homeowners as one of the leading plumbing firms for over 40 years. We are trusted, skilled, qualified and get the task done right and fast!
For every single work we take on, no issue how large or small, we initially determine the origin reason of the problem prior to starting work. This allows us to supply our clients greater satisfaction in recognizing that we have found the very best feasible option for their plumbing problems. Best Plumbing Miramar Ranch North. We will not advise a substitute if we can perform pipes repair services at an extra cost effective price for you
Shower Repair Near Me Miramar Ranch North, CA
"Terrific company. Specialist and takes care of the consumer."Mark S. to arrange your plumbing installment or repair service visit.
Drains and trash disposals add to regulating the flow of water in your bathroom and kitchen. If the drain is slow-moving or the waste disposal unit isn't damaging down food properly, your water circulation won't be smooth. It's never ever a good day when you remain in the middle of a shower and instantly the water is up to your ankle joints.
At Will Repair It in San Antonio, TX, our experts can clean your drains pipes and repair your waste disposal unit rapidly and successfully so the water in your home runs smoothly once more. We need warm water to do a lot of things in our homes. A hot shower at the end of a lengthy day, washing meals effectively after supper, giving the children a bathroom, and cleaning clothes, just to call a few.
Water Heater Installers Miramar Ranch North, CA
Call a professional Away to promptly get your water heating system back right into good working order. Warm water is necessary, specifically in the chillier months of the year. Make sure that your home constantly has what you need by keeping professional hot water heater fixing services by Will Repair It in San Antonio, TX on your get in touches with checklist.
Pipes emergencies can strike anytime, and they frequently come at the most bothersome of times. Whether it's an emergency or a routine telephone call, our proficient and educated team is waiting to guarantee your Charlotte home or organization is protected and comfy for you and your loved ones.
One phone call. One regional firm. One trusted group at your solution!.
Gas Line Plumber Miramar Ranch North, CA
A great plumbing might be difficult to locate, but not when you deal with the specialists at Advanced Expert Plumbing, Home Heating & Cooling. We make certain that our consumers have every little thing they require to take pleasure in cold and hot water throughout their home and commercial organization. Our plumbing installation service in NJ is inexpensive, and we can make sure that your home or organization has whatever it requires.
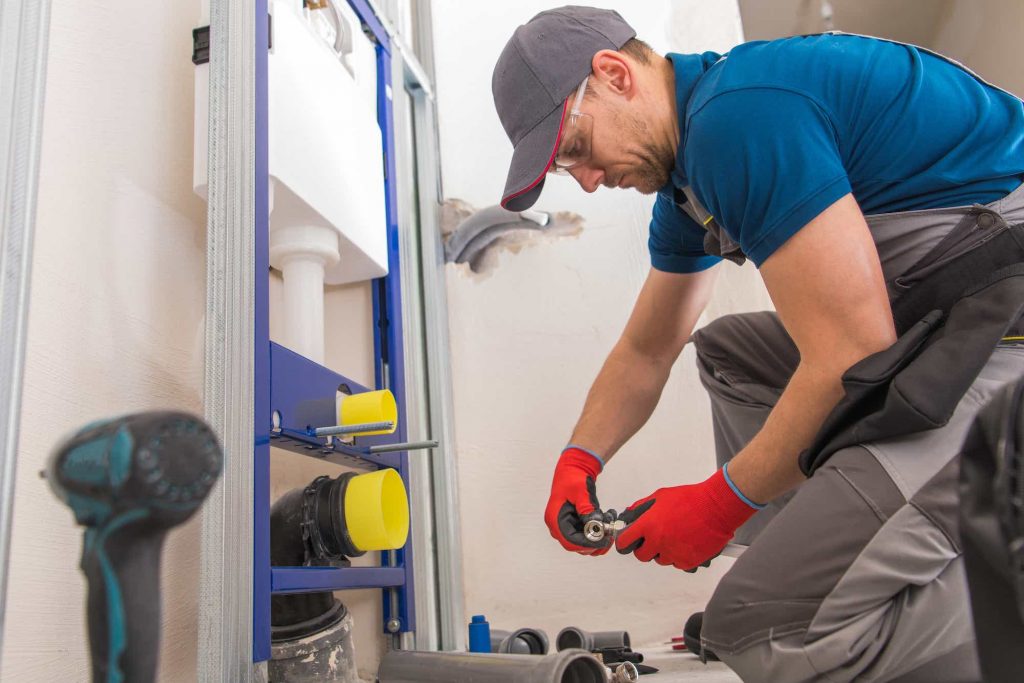
In any new area, the pipes installment will certainly consist of three parts that are fixture/appliance collection, a system of water supply, and drain system. For installing plumbing, one needs to be a knowledgeable plumbing technician or a person that works under one. Below, we will tell you just how to install a pipes system.
These codes aid make certain that you mount brand-new building plumbing in a secure way. You can examine this pipes code along with the division of your neighborhood plumbing to see what can be different.
Black Mountain Plumbing
Address: 9909 Hibert Street Suite E San Diego, CA 92131Phone: (858) 536-4161
Email: blackmtnplumbing@gmail.com
Black Mountain Plumbing
This can be under the frost line, the deepness at which groundwater can freeze. This will certainly maintain the line from damaging and cold the pipelines. Once the essential line enters into your home, it will certainly divide right into 2 lines. One will supply water that is cool, and on the various other side, it will certainly get in touch with the hot water system.
Affordable Plumber Near Me Miramar Ranch North, CAAffordable Plumber Near Me Miramar Ranch North, CA
Water Line Repair Miramar Ranch North, CA
Affordable Plumber Near Me Miramar Ranch North, CA
Plumber Shower Installation Miramar Ranch North, CA
Plumber Toilet Repair Miramar Ranch North, CA
Plumber For Clogged Toilet Near Me Miramar Ranch North, CA
Plumber Company Near Me Miramar Ranch North, CA
Plumbing Installation Services Miramar Ranch North, CA
Bathroom Plumber Miramar Ranch North, CA
Plumber Toilet Repair Miramar Ranch North, CA
Water Heater Installers Miramar Ranch North, CA
Plumber Toilet Repair Miramar Ranch North, CA
Residential Plumber Miramar Ranch North, CA
Shower Repair Near Me Miramar Ranch North, CA
Shower Repair Miramar Ranch North, CA
Kitchen Plumbing Miramar Ranch North, CA
Residential Plumbing Repair Near Me Miramar Ranch North, CA
Water Leak Repair Miramar Ranch North, CA
Water Filtration Services Near Me Miramar Ranch North, CA
Gas Line Plumber Miramar Ranch North, CA
Best Plumbing Miramar Ranch North, CA
Plumbing Installers Near Me Miramar Ranch North, CA
Kitchen Plumbing Miramar Ranch North, CA
Affordable Plumber Near Me Miramar Ranch North, CA
Garbage Disposal Installation Miramar Ranch North, CA
Plumber For Clogged Toilet Near Me Miramar Ranch North, CA
Residential Plumbing Repair Near Me Miramar Ranch North, CA
Water Line Repair Miramar Ranch North, CA
Water Heater Installers Miramar Ranch North, CA
Local Plumber Miramar Ranch North, CA
Residential Plumber Miramar Ranch North, CA
Bathroom Plumber Miramar Ranch North, CA
Plumbing Installation Services Miramar Ranch North, CA
Shower Repair Near Me Miramar Ranch North, CA
Residential Plumbing Repair Near Me Miramar Ranch North, CA
Local Plumbing Near Me Miramar Ranch North, CA
Plumber Toilet Repair Miramar Ranch North, CA
Water Line Repair Miramar Ranch North, CA
Affordable Plumber Near Me Miramar Ranch North, CA
Plumbing Installation Near Me Miramar Ranch North, CA
Plumbing Installation Near Me Miramar Ranch North, CA
Residential Plumbing Services Near Me Miramar Ranch North, CA
Water Leak Repair Miramar Ranch North, CA
Residential Plumbing Repair Near Me Miramar Ranch North, CA
Affordable Plumbing Near Me Miramar Ranch North, CA
Local Plumber Miramar Ranch North, CA
Plumber For Clogged Toilet Near Me Miramar Ranch North, CA
Local Plumber Miramar Ranch North, CA
Shower Repair Near Me Miramar Ranch North, CA
Best Plumbing Miramar Ranch North, CA
Plumbing Installation Miramar Ranch North, CA
Garbage Disposal Installation Miramar Ranch North, CA
Water Heater Installers Miramar Ranch North, CA
Garbage Disposal Installation Miramar Ranch North, CA
Plumber Company Near Me Miramar Ranch North, CA
Plumbers In Miramar Ranch North, CA
Best Plumber Miramar Ranch North, CA
Plumber Company Near Me Miramar Ranch North, CA
Water Filtration Services Near Me Miramar Ranch North, CA
Water Filtration Services Near Me Miramar Ranch North, CA
Best Plumber Miramar Ranch North, CA
Garbage Disposal Installation Miramar Ranch North, CA
Kitchen Plumbing Miramar Ranch North, CA
Residential Plumbing Repair Near Me Miramar Ranch North, CA
Find A Good Seo Service Miramar Ranch North, CA
Find A Good Seo Consultant Miramar Ranch North, CA
Black Mountain Plumbing
Table of Contents
- – Water Leak Repair Miramar Ranch North, CA
- – Black Mountain Plumbing
- – Local Plumber Miramar Ranch North, CA
- – Plumber Toilet Repair Miramar Ranch North, CA
- – Best Plumbing Miramar Ranch North, CA
- – Shower Repair Near Me Miramar Ranch North, CA
- – Water Heater Installers Miramar Ranch North, CA
- – Gas Line Plumber Miramar Ranch North, CA
- – Black Mountain Plumbing
Latest Posts
San Clemente Reasonable Dental Insurance For Seniors
Rancho Santa Margarita Senior Insurance
Personal Health Insurance Plans Costa Mesa
More
Latest Posts
San Clemente Reasonable Dental Insurance For Seniors
Rancho Santa Margarita Senior Insurance
Personal Health Insurance Plans Costa Mesa