All Categories
Featured
Table of Contents
- – Rv Auto Body Repair Near Me Walnut, CA
- – OCRV Center
- – Rv Collision Repair Shop Walnut, CA
- – Rv Paint Shops Walnut, CA
- – Rv Body Damage Repair Walnut, CA
- – Rv Auto Body Repair Walnut, CA
- – Rv Paint Shops Walnut, CA
- – Rv Repair Body Shop Walnut, CA
- – Motorhome Body Shop Near Me Walnut, CA
- – Rv Frame Repair Walnut, CA
- – Rv Body Shop Walnut, CA
- – Motorhome Body Repairs Near Me Walnut, CA
- – Rv Body Repair Near Me Walnut, CA
- – OCRV Center
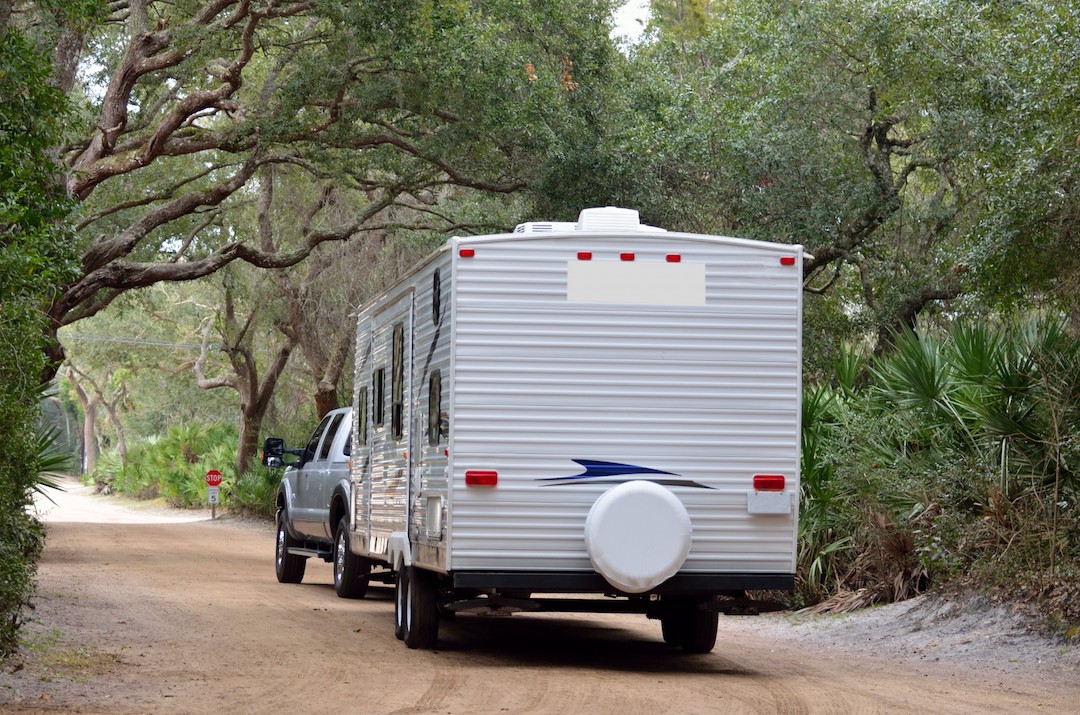
Rv Auto Body Repair Near Me Walnut, CA
At Interstate RV Metal and Supply, we provide a wide variety of competitively priced, custom-made motor home devices and materials. We are committed to finish customer fulfillment - Rv Body Shop Walnut. This dedication is mirrored in our item quality, our strategy to service, and our growing list of dedicated, pleased customers
Required to repair a small section of your recreational vehicle's wall surface or roofing, however do not desire (or requirement) to cost a fortune? A basic slit, break, crack, or dent isn't something you replace an entire roofing system or wall surface for. Like the old claiming goes, "Do not toss the child out with the bathwater".
That's why we use these straightforward however highly efficient repair items for your Filon and fiberglass applications. Our Filon product simply can not be beat. Contrasted to various other products on the marketplace it has a lower price point, lowered weight profile, and is more powerful than the majority of while keeping flexibility. If you need to repair your recreational vehicle, look no more! The color of the repair work piece is frozen white, which is clean and neutral, wonderful for any kind of RV color.
The dimension of the fixing patch has to do with 1 foot by 1 foot, nonetheless, they are reduced from a master roll, indicating they will be a little much longer so that the customer can suffice to the precise size and width of the location they need. There show up fibers and the piece is very easy to shape.
Rv Collision Repair Shop Walnut, CA
Have a spot that could use some help and you don't want to obtain a huge plate of filon for just that one place? This repair patch is what you need.
This website uses cookies to assist personalise material, tailor your experience and to keep you logged in if you register. By remaining to use this site, you are consenting to our use cookies.
Look at the wall from an angle and check for lumps or bubbles. Most sidewalls are not completely level, so this can be complicated, however, the bubble can be worse when the wall surface is in direct sunlight due to the de-bonded material broadening at different prices. Next, faucet gently on the wall surface with a plastic screwdriver deal with, solid areas and flaked locations seem various.
Rv Paint Shops Walnut, CA
Our kit is a tool established for usage in recreational vehicle side wall delamination repair work that needs to prospective to repair or boost flaked walls, floorings, and roofings. Oftentimes a leakage course opens up enabling water to go into the wall. Commonly this occurs nearby to windows, vents, lights, roof covering lines, and so on.
We usually see a situation where water breaks down the adhesive that bonds the layers of the Luann plywood. Will your items take care of flaked fiberglass siding on my motor home? Delamination occurs when the bond between several layers falls short. This can take place in isolated locations, or throughout the entire wall panel.

The products are adhered together to create a COMPOUND FRAMEWORK. How can you spot wall surface delamination? Motor home being repaired.
Rv Body Damage Repair Walnut, CA
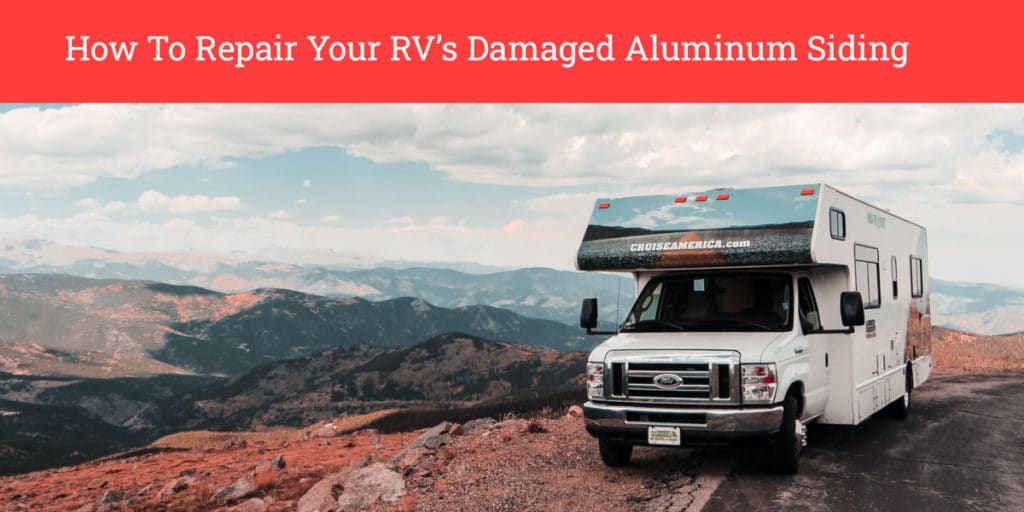
The complying with pictures show the treatments for a very easy sheet metal siding repair work work. Many repair work are not this straightforward or simple ... various windows, doors, compartments and various other opening will complicate points as will the size of the called for steel sheets. 8 foot long sheets can be taken care of by 1 or 2 people, yet sheets of 20 or even more feet in size will require 3 or 4 helpers and great care need to be taken to avoid damaging the steel as it is mounted.
The top 2 panels are harmed and will certainly be replaced with new coordinating sheet metal. Remove the 2 side mouldings and the leading moulding if there is one ... and the clearance lights. Pop off the clearance light lenses and get rid of both screws - pry up the light assembly and eliminate the inner light bulb setting up by turning it 1/4 turn.
Rv Auto Body Repair Walnut, CA
Get rid of the staples holding the rv exterior siding steel on - depending upon the building made use of, the sheet steel might be folded up over and stapled from the side over the back, or from the back over the side steel. Take treatment not to dent or mark the intact panels! Correct the alignment of out the folded steel using a putty blade and hammer.
The rv siding sheets are installed individually from the top down at the factory. The reduced edge of each sheet has a "lock" or folded up part that enables the sheet to be stapled at the edges and at every upright stud in the wall surface. The top of the following sheet is put into the lock and afterwards that sheet is stapled on as defined above.
In order to save time, it is commonly possible to "stand out" out a sheet as revealed right here and in the photo above. Severe care should be required to make sure that this sheet is not creased or tainted by this procedure. This allows both harmed sheets over to be replaced without getting rid of all the sheets on the wall surface.
Rv Paint Shops Walnut, CA
The substitute sheet will certainly be stapled in this position to ensure that it will correctly align with the reduced sheet. The staples holding the base of the damaged panel are now accessible and can be gotten rid of right now ... This image reveals the very first damaged panel gotten rid of from the trailer ...
This photo shows both the top two rv home siding panels eliminated. The new steel sheets are delivered in a cage to stop shipping damages. Frequently the crating and shipping fees are more than the price of the steel! The old sheet is carefully laid over the brand-new sheet in order to map out the shape required and additionally the locations of the clearance light gain access to holes ... The shape of the top curve is cut utilizing tin snips ... and a hole saw is made use of to pierce out the access holes for the clearance lights ... The sheet is cut and ready to be mounted ... and after that stapled right into setting using the arrow marks for appropriate positioning ... Clearance lights and mouldings are re-installed utilizing new putty tape and the decal will be used at a later time.
Rv Repair Body Shop Walnut, CA
If you're new to the Recreational vehicle world, you might have listened to of the feared Recreational vehicle delamination. Comprehending what RV delamination is, exactly how to fix it, and exactly how to prevent it is important for every owner to recognize.
Water can then seep into the cracks and unleash chaos on the car. Delamination commonly brings about distorted exterior siding, bubbled wall surfaces, and water damage. This trouble looks poor outside, but the indoor damage is also worse. Luckily, there are methods to repair this problem or prevent it from taking place.
Motorhome Body Shop Near Me Walnut, CA
Please get in a legitimate email address. An error took place. Please attempt once again later. We currently covered the fundamentals above, yet if you need to know exactly how to deal with and protect against delamination, it's essential to comprehend just how it happens. Band-aid options will not take care of anything in the lengthy term if you don't get at the origin of the trouble.
When it comes to Motor homes, lamination refers to the construction of the siding. There are normally a couple of layers including a fiberglass outside, plywood, styrofoam, insulation, and the indoor recreational vehicle wall. Also though the exterior product is pretty hard, the within can come to be dinged up or damaged with time. If the plywood begins ahead loose from the external layers, that's where RV delamination begins.
If you see a Motor home with distorted siding, it's in a state of delamination. Also though this might seem like an aesthetic concern, delamination is a massive issue for Recreational vehicles.
Rv Frame Repair Walnut, CA
Delamination deteriorates the framework of your lorry, welcomes water damages, and can lead to stubborn growths of mold and mildew. Having a rough outside can additionally make your Motor home less wind resistant.
Be particularly careful to check for delamination if you're acquiring a used Recreational vehicle. If the Motor home delamination is as well serious, it can be tough to repair.
If you capture it early on, there are things you can do to fix this issue. Serious motor home delamination is challenging to take care of, particularly if water damages has actually embeded in. If the plywood has begun to rot, the only means to repair it is to entirely strip down the wall surfaces and replace them with a fresh structure.
Nevertheless, if the procedure has only just begun and hasn't obtained too far, there are a couple of repairs that owners can attempt. The initial choice is a delamination repair kit. These expense about $80-150 and come with a high-strength bonding agent. This can be made use of to reseal the fiberglass to the underlying layers of the recreational vehicle.
Rv Body Shop Walnut, CA
Many kits additionally feature syringes that can be used to fill up hard-to-reach spots. Once you're satisfied with the degree of repair work you've done, it is very important to seal up any type of fractures and seams in the recreational vehicle outside. Making use of a great caulk is essential, and you can provide an additional layer of defense by making use of a protective motor home wax/coating.
Lots of individuals locate that these repair services are not worth the cost and offer up the Recreational vehicle as a shed cause. Some Motor home proprietors with a lot of devices, time, and expertise have been successful at repairing delamination damages by themselves, but this is impractical for most individuals.
With any kind of luck, you'll never have to take care of motor home delamination in the first place. A lot of Motor homes are well-made and can hold up to the wear and tear of a life when traveling. Delamination is absolutely something to be conscious of, but it's not a threat that every recreational vehicle owner deals with.
Motorhome Body Repairs Near Me Walnut, CA
The main cause of delamination is splits or seams in the outside that allowed water in. If you're diligent and often use a lap sealant to these areas, you'll greatly improve your possibilities of preventing delamination. Dicor products are best for this purpose! You should additionally take actions to maintain your recreational vehicle clean and completely dry.
The even more security you can give the surface, the much better your opportunities are of avoiding recreational vehicle delamination. Make certain you monitor all your RV maintenance and fixings with an on-line tool such as RV LIFE Maintenance from RECREATIONAL VEHICLE LIFE. Not only can you keep all of your records in one place, however you'll additionally obtain prompt pointers when maintenance results from assist you stay clear of pricey repair services and potentially major accidents.
Rv Body Repair Near Me Walnut, CA
Hi all - very first time travel trailer owner below (Think of 2500RL 2023). I made an idiot newbie step this weekend. Was setting up television install in master bedroom and used lag screws that were too long and all 5 of them punched out the exterior sidewall. The holes are little so in the meantime I plugged them with white and black waterproof silicon.
CONCERN: I purchased from a supplier that has a solution center close by. Any individual had a comparable scenario and has even more of a profession exterior home siding repair process. Many thanks.
Motorhome Body Repairs Near Me Walnut, CAMotorhome Fiberglass Repair Walnut, CA
Rv Body Repair Shops Near Me Walnut, CA
Rv Body Repair Shop Near Me Walnut, CA
Motorhome Body Shop Near Me Walnut, CA
Motorhome Collision Repair Near Me Walnut, CA
Rv Body Shop Repair Near Me Walnut, CA
Rv Collision Repair Near Me Walnut, CA
Rv Body Repair Near Me Walnut, CA
Rv Siding Repair Walnut, CA
Motorhome Fiberglass Repair Walnut, CA
Motorhome Body Shop Near Me Walnut, CA
Motorhome Full Body Paint Walnut, CA
Rv Body Work Walnut, CA
Motorhome Body Repair Near Me Walnut, CA
Rv Body Shop Walnut, CA
Rv Siding Repair Walnut, CA
Rv Body Damage Repair Walnut, CA
Rv Repair Body Shop Walnut, CA
Rv Fiberglass Siding Repair Walnut, CA
Rv Fiberglass Siding Repair Walnut, CA
Rv Fiberglass Siding Repair Walnut, CA
Rv Collision Repair Walnut, CA
Rv Body Repair Shops Near Me Walnut, CA
Rv Body Repair Shop Near Me Walnut, CA
Rv Body Damage Repair Walnut, CA
Motorhome Fiberglass Repair Walnut, CA
Rv Body Repair Near Me Walnut, CA
Rv Auto Body Repair Walnut, CA
Rv Fiberglass Repair Near Me Walnut, CA
Rv Fiberglass Siding Repair Walnut, CA
Motorhome Body Repair Near Me Walnut, CA
Rv Wall Repair Walnut, CA
Rv Body Shop Walnut, CA
Rv Body Shop Repair Near Me Walnut, CA
Rv Auto Body Repair Near Me Walnut, CA
Rv Fiberglass Siding Repair Walnut, CA
Rv Auto Body Repair Near Me Walnut, CA
Motorhome Body Shop Near Me Walnut, CA
Motorhome Body Repairs Near Me Walnut, CA
Rv Frame Repair Walnut, CA
Rv Collision Repair Walnut, CA
Rv Body Shop Repair Near Me Walnut, CA
Rv Siding Repair Walnut, CA
Rv Slide Out Repair Near Me Walnut, CA
Rv Body Repair Near Me Walnut, CA
Rv Auto Body Repair Near Me Walnut, CA
Rv Body Shop Walnut, CA
Rv Body Shop Walnut, CA
Rv Body Repair Shop Near Me Walnut, CA
Rv Fiberglass Repair Near Me Walnut, CA
Rv Siding Repair Walnut, CA
Rv Collision Repair Shops Near Me Walnut, CA
Rv Body Repair Near Me Walnut, CA
Rv Repair Body Shop Walnut, CA
Rv Body Damage Repair Walnut, CA
Motorhome Body Shop Near Me Walnut, CA
Rv Body Damage Repair Walnut, CA
Rv Collision Repair Walnut, CA
Rv Collision Repair Shop Walnut, CA
Rv Body Shop Repair Near Me Walnut, CA
Rv Fiberglass Repair Near Me Walnut, CA
Rv Collision Repair Shops Near Me Walnut, CA
Motorhome Body Repairs Near Me Walnut, CA
Rv Paint Shops Walnut, CA
Rv Body Shop Repair Near Me Walnut, CA
Rv Fiberglass Repair Near Me Walnut, CA
Rv Body Repair Shop Near Me Walnut, CA
Rv Body Work Walnut, CA
Rv Fiberglass Siding Repair Walnut, CA
Rv Body Repair Shops Near Me Walnut, CA
Motorhome Full Body Paint Walnut, CA
Motorhome Fiberglass Repair Walnut, CA
Rv Body And Paint Repair Walnut, CA
Motorhome Body Shop Near Me Walnut, CA
Rv Siding Repair Walnut, CA
Motorhome Full Body Paint Walnut, CA
Best Rv Collision Repair Near Me Walnut, CA
Near My Location Seo Expert Walnut, CA
Near Here Seo Firm Walnut, CA
OCRV Center
Table of Contents
- – Rv Auto Body Repair Near Me Walnut, CA
- – OCRV Center
- – Rv Collision Repair Shop Walnut, CA
- – Rv Paint Shops Walnut, CA
- – Rv Body Damage Repair Walnut, CA
- – Rv Auto Body Repair Walnut, CA
- – Rv Paint Shops Walnut, CA
- – Rv Repair Body Shop Walnut, CA
- – Motorhome Body Shop Near Me Walnut, CA
- – Rv Frame Repair Walnut, CA
- – Rv Body Shop Walnut, CA
- – Motorhome Body Repairs Near Me Walnut, CA
- – Rv Body Repair Near Me Walnut, CA
- – OCRV Center
Latest Posts
Indian Wells Best Senior Care
Assisted Living Senior Anza
Care Seniors Mecca
More
Latest Posts
Indian Wells Best Senior Care
Assisted Living Senior Anza
Care Seniors Mecca